

 English
 Lietuvių
 Latviešu
 Eesti
 Русский
 Polski
 Українська
 Deutsch
 Italiano
 Español
 Français
 Português
 Čeština
 Magyar
 Română
 Ελληνικά
 Türkçe
 日本語
 العربية
 हिन्दी
 Bahasa Indonesia
 Bahasa Melayu
 ไทย
 Tiếng Việt
 বাংলা
Talkmio on Shopify, Wix, Webflow and Squarespace: One Line of Code
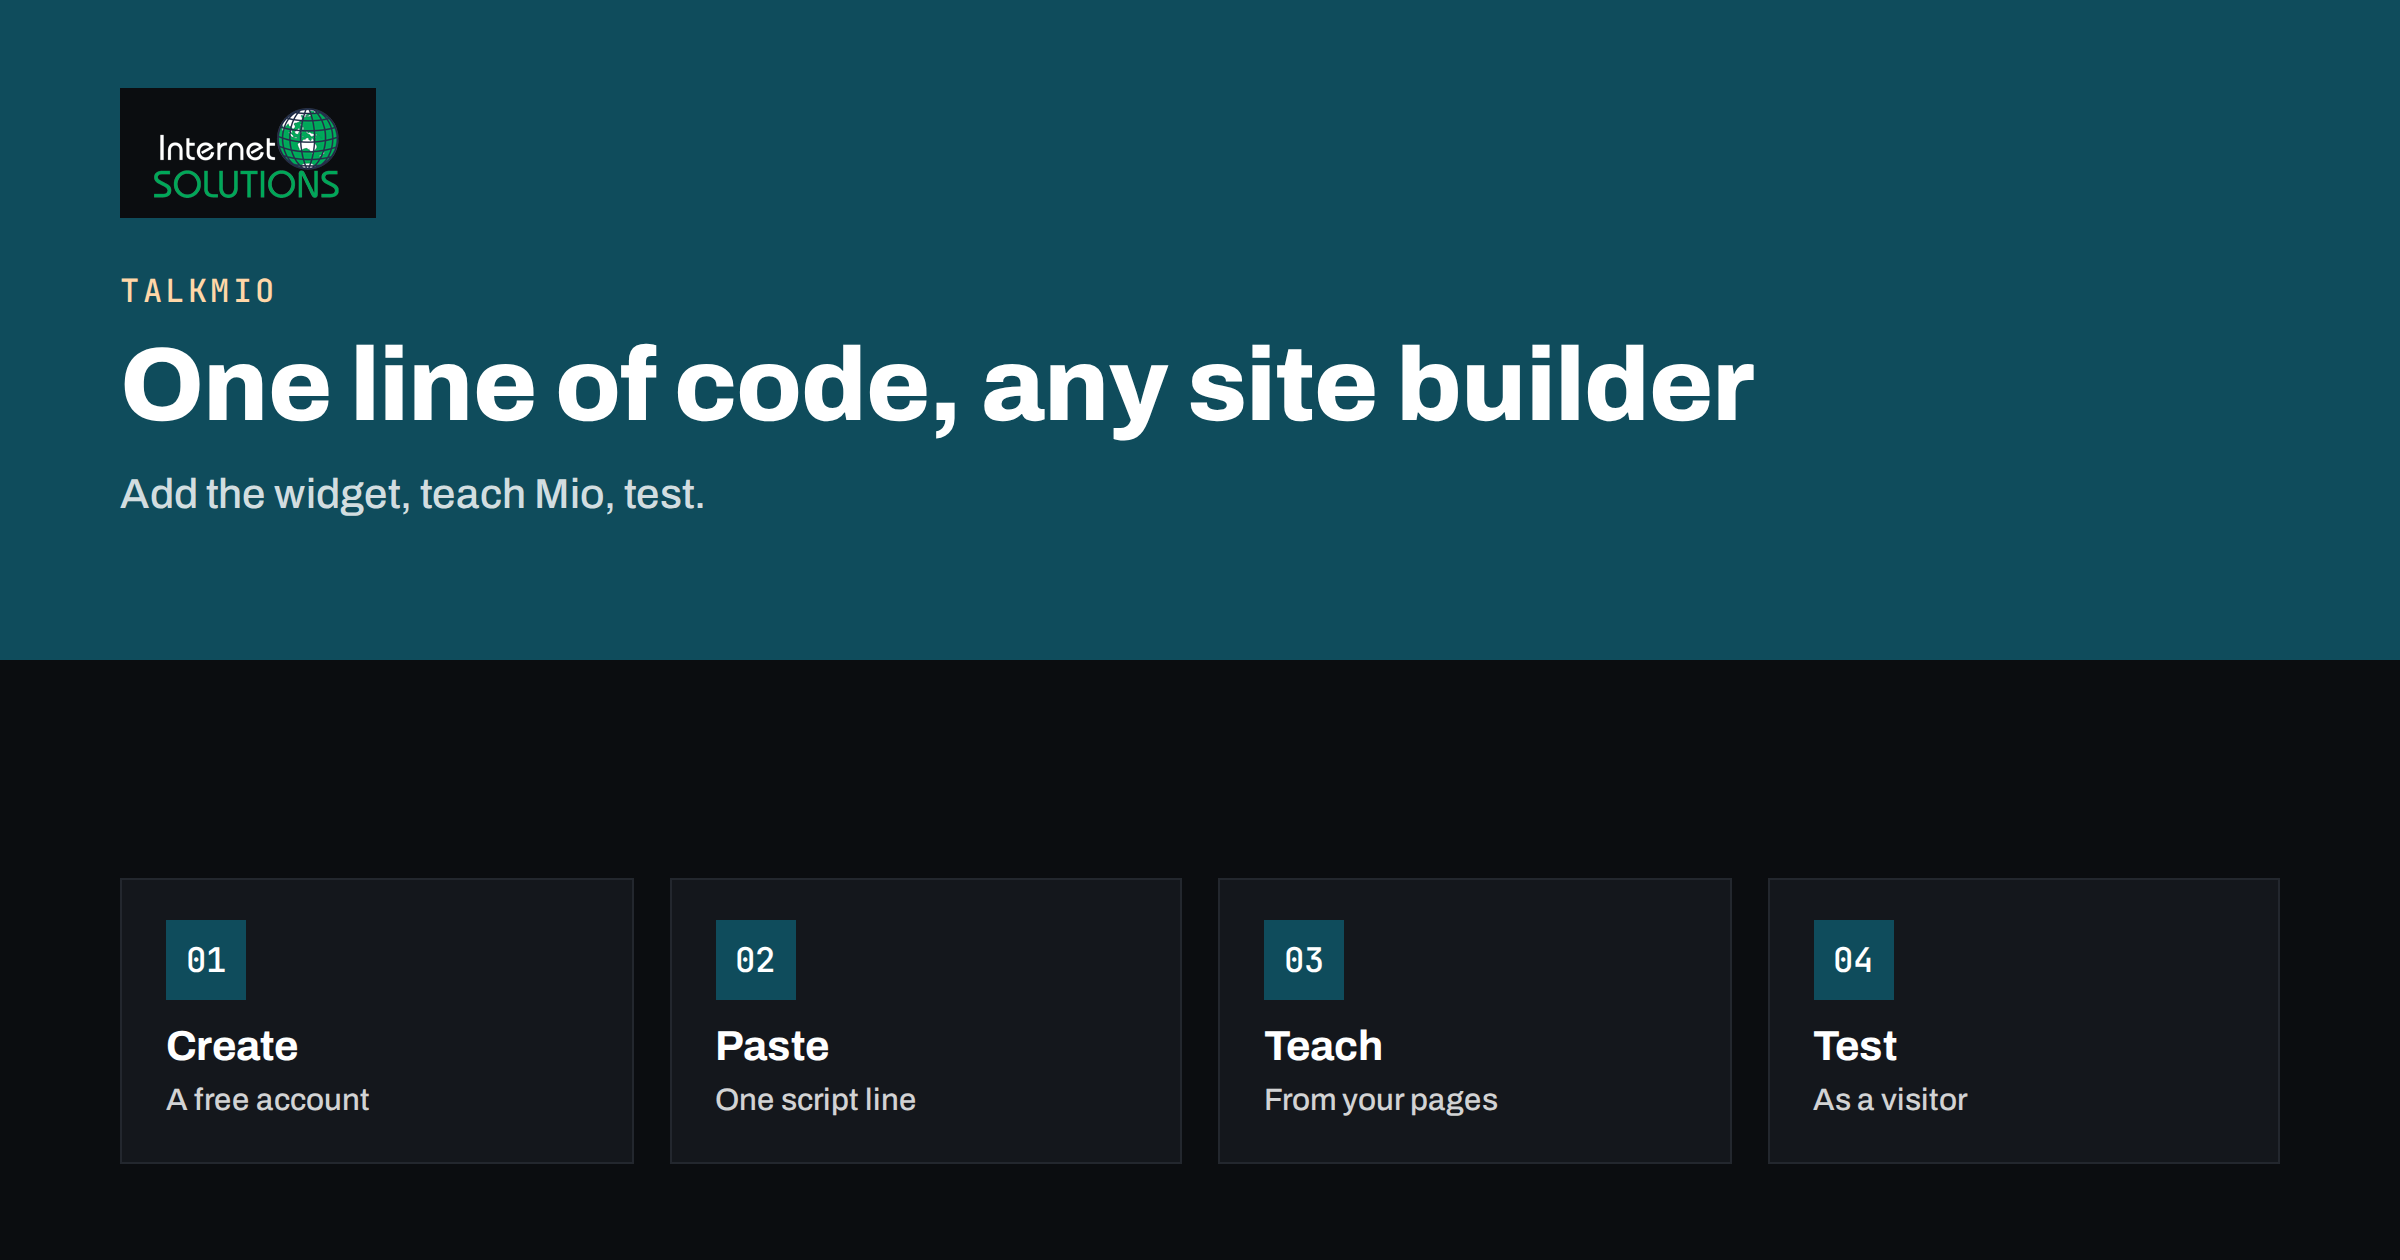
Talkmio is an AI live chat and inbox for websites, and its product page makes a modest promise about installation: add one line of code, or install the WordPress plugin, and you are live in about two minutes without a developer. The same page lists the platforms it works on, including WordPress, Shopify, Wix, Webflow, Squarespace and any custom website. For owners of hosted site builders and online stores, the interesting question is not whether it works, but where exactly the line of code goes on each platform and what to check afterwards.
This guide walks through that process for Shopify, Wix, Webflow and Squarespace. It covers the three Talkmio steps described on the product page, the general idea behind adding a script to a site builder, platform-specific places to look, a testing routine and the usual blockers. Builder menus change from time to time, so treat the platform instructions as a map and confirm exact labels in each platform’s help centre.
The Three Steps on the Talkmio Side
According to the Talkmio product page, going live takes three steps.
- Add the widget. Create a free account, add your website and paste one line of code, or install the WordPress plugin.
- Teach Mio. Point it at your website, add a few questions and answers or upload a price list. The page says Mio reads it in a minute.
- Let it answer. Visitors ask and Mio replies, and you step in from the web inbox or by email when it matters.
The page also describes what Mio does when it is unsure: every answer comes from your content, and when it is not sure, it hands the conversation to your team, with the full history in your inbox. The free plan needs no card. Current plans and prices are always shown on talkmio.com.
What “One Line of Code” Means
The line is a small piece of HTML, a script tag, that loads the chat widget on your pages. Site builders let you add such code in a settings area, often called custom code, header or footer code, or code injection. Once the code is on every page, the widget appears in the corner of the screen. You do not need to edit page designs or install other software, though some platforms restrict custom code to paid plans.
- Where it goes: usually in the site-wide footer, or the header, so it loads on all pages.
- What to copy: the exact line from your Talkmio account, with no extra spaces or changes.
- What not to do: do not paste it into a single page, a text block or a blog post unless you want the widget only there.
Platform by Platform
The table lists where to look on each platform. Names of menus differ between versions, so search the platform’s help centre for custom code or tracking code if you cannot find them.
| Platform | Where to add the line | Things to check |
|---|---|---|
| Shopify | In the online store theme code, in the main theme layout file before the closing body tag, or through the theme’s custom code option if available | Make a copy of the theme before editing; confirm that the checkout pages are handled as you intend |
| Wix | In the site settings under custom code, applied to all pages in the body or head | Custom code is usually limited to premium plans; choose “all pages” and test on the live site |
| Webflow | In the project settings under custom code, in the footer section | Publish the site after saving; custom code often needs a paid site plan |
| Squarespace | In the settings under advanced, code injection, in the footer | Code injection typically requires a Business plan or higher |
Each platform publishes instructions for custom code: see the help centres for Shopify, Wix and Squarespace. Webflow documents its custom code area in its university and support pages. Always follow the current official steps if they differ from the summary here.
A Careful Installation Routine
- Create the account and add your site. Use the website address visitors really see, including the correct domain version.
- Copy the line of code. Do it from the account, not from an old email or a document that may have changed.
- Back up before editing. On Shopify, duplicate the theme. On other builders, note what was in the code field before you paste.
- Paste into the site-wide footer. Keep any existing scripts in place.
- Save and publish. Builders often show a preview that does not load external scripts; test the live site.
- Test in a private window. Open the site without logging in, to see what a visitor sees.
- Test on a phone. Check that the widget does not cover buttons such as checkout or call.
- Send a test message. Confirm that it arrives in the inbox and that you can reply.
Our Talkmio setup guide covers the rest of the first day, and the guide to widget colors, greeting, pre-chat form and business hours shows how to make the widget match your brand.
Teach Mio Before You Promote It
Installing the widget is the easy part. The quality of the chat depends on what Mio knows. The product page says that Mio reads your site, your FAQ and any documents you upload, and that it never invents prices or policies. For an online store, the best material is practical: delivery times and costs, return rules, payment methods, sizing or compatibility information, and contact hours. Upload your price list, and add direct answers to the ten questions that customers ask most.
- Check that product and policy pages on your site are accurate, since Mio reads them.
- Add question-and-answer pairs for topics that your pages cover poorly.
- Test the chat with real questions, including awkward ones, before announcing it.
- Decide what happens out of hours: when a person is needed, the chat reaches your inbox for later reply.
Our guide to what to teach Mio and how to test answers gives a testing method.
Store-Specific Points
Online stores have extra considerations. Think about where a chat helps most: product pages, delivery information and the cart, where doubts appear. Make sure that the widget does not overlap the add-to-cart or checkout buttons on phones. Check whether your platform loads checkout from a separate, more restricted environment; on some platforms, custom scripts do not run in every step of the checkout, and that is normal. If you use a cookie banner, confirm how the chat widget is categorised and whether your consent settings need to include it, in line with your privacy policy and local law.
Service sites built with Wix, Webflow or Squarespace often use the chat to capture enquiries when the contact form is too formal. Consider adding a short greeting that names what the chat can help with, such as prices, availability and booking questions.
If the Widget Does Not Appear
A missing widget is almost always a placement or caching issue. Work through a short checklist.
- Is the code in the live site, not only in a draft or preview?
- Was it pasted exactly, without missing characters or smart quotes?
- Is the platform plan one that allows custom code?
- Does the website address in Talkmio match the address visitors use, including the www version?
- Has the site cache been cleared, or the page refreshed with a hard reload?
- Is a browser extension or content blocker hiding the widget?
- Does a cookie tool block the script until consent is given?
Our troubleshooting checklist for a missing chat widget goes through these causes in more detail, and the Talkmio overview lists the other channels and features.
A Worked Example
A small company sells handmade leather goods through a Shopify store and runs a separate studio site on Squarespace. The owner creates a free Talkmio account and adds both websites. For the Shopify store, she duplicates the live theme, pastes the line into the main layout file just before the closing body tag and saves. For the Squarespace site, she adds the line in the footer code injection.
She tests both in a private window on her phone and sees the widget on each. A bag on the store page looks different on small screens, and the widget overlaps the add-to-cart button, so she changes the placement in the widget settings. She uploads her delivery and care instructions, adds answers about custom engraving and tests with five real customer questions. In the first week, Mio answers delivery and care questions on its own and hands engraving requests with long details to her inbox, where she replies the same evening. The whole installation takes under an hour including testing.
First-Week Habits After Installation
Once the widget is live, a few simple habits determine whether the chat helps your store or becomes a source of frustration. Spend a few minutes on each of these during the first week.
- Read the conversations daily. Look at what visitors asked and how Mio answered. Note questions that Mio could not answer and add the missing facts to the knowledge it uses.
- Answer handed-over chats quickly. When Mio passes a conversation to your team, the visitor is waiting. Check the inbox at fixed times and set up email notifications.
- Watch the pages. See on which pages visitors open the chat. Questions on the delivery page mean that the page itself is unclear.
- Test changes. After you update a price or policy on the store, ask Mio a question about it to confirm the answer follows.
- Review on mobile. Open the store on a phone every few days and make sure the widget does not hide important buttons.
The product page also mentions reports that show conversations per day, how much Mio solves on its own, first-reply time and ratings. Look at them weekly in the early weeks. They show whether the chat is reducing repetitive questions and where your team still needs to step in, and they give you a factual basis for deciding what to teach next.
Common Mistakes
- Pasting the line into one page instead of the site-wide footer.
- Editing a live Shopify theme without making a copy.
- Testing only in the builder’s preview.
- Forgetting that custom code may need a paid platform plan.
- Letting the widget cover checkout or call buttons on phones.
- Skipping the step of teaching Mio about delivery and returns.
- Not checking consent settings for scripts.
Frequently Asked Questions
Does Talkmio work on Shopify, Wix, Webflow and Squarespace?
Yes, the product page lists all four, plus WordPress and any custom website. You add one line of code, or use the plugin on WordPress.
Do I need a developer to install it?
No. The page says that pasting one line of code or installing the WordPress plugin takes about two minutes and needs no developer.
Does it cost anything to try?
There is a free plan that needs no card. Current plans and prices are shown on talkmio.com.
How does Mio know what to answer?
It reads your website, your FAQ and the documents you upload. Answers come from that content, and when Mio is not sure, it hands the conversation to your team.
What if my platform plan does not allow custom code?
Check the platform’s plan details. If custom code is not available on your plan, you may need to upgrade, or look for a native option the platform offers for adding scripts.
Can I use it in several languages?
The product page says Mio works in 30+ languages and answers visitors in their own language, based on your content.
The Bottom Line
Adding Talkmio to a Shopify, Wix, Webflow or Squarespace site means creating a free account, pasting one line into the site-wide custom code area, teaching Mio from your own pages and documents and testing on the live site and on a phone. Back up before editing, watch for plan limits on custom code, avoid overlapping important buttons and check consent settings. Spend the time you save on installation to teach Mio your delivery, returns and pricing facts, and your visitors get useful answers at any hour.